Ingredients
Method
- Begin by preheating your oven to 350°F (177°C) and lightly greasing a 9×13-inch baking dish, although any 3-4-quart dish will suffice.
- To prepare the filling, combine all filling ingredients in a large bowl and transfer the mixture to your prepared baking dish. Bake this layer for 10 minutes, then remove from the oven and set aside while you prepare the biscuit topping. Keep the oven turned on.
- For the biscuit topping, in a large bowl, whisk together the flour, sugar, baking powder, baking soda, and salt. Using either a pastry cutter or two forks, cut in the butter until the mix looks like coarse crumbs, pea-sized. If available, a pastry cutter simplifies this process significantly, though a food processor is an alternative. Gradually pour in the buttermilk and stir gently until the mixture is just combined and slightly sticky. If the mixture feels too dry, incorporate an additional tablespoon of buttermilk.
- To assemble the cobbler, take portions of the dough and flatten them slightly with your hands. Arrange these pieces over the warm peach mixture, ensuring to cover most of the surface.
- Brush the biscuit topping with the prepared egg wash and, if desired, sprinkle with the cinnamon-sugar mixture.
- Return the dish to the oven and bake for 40-50 minutes. The cobbler is ready when the topping is golden brown and the peach filling bubbles at the edges. Check doneness by inserting a toothpick into the biscuit—if it emerges clean, the cobbler is baked through.
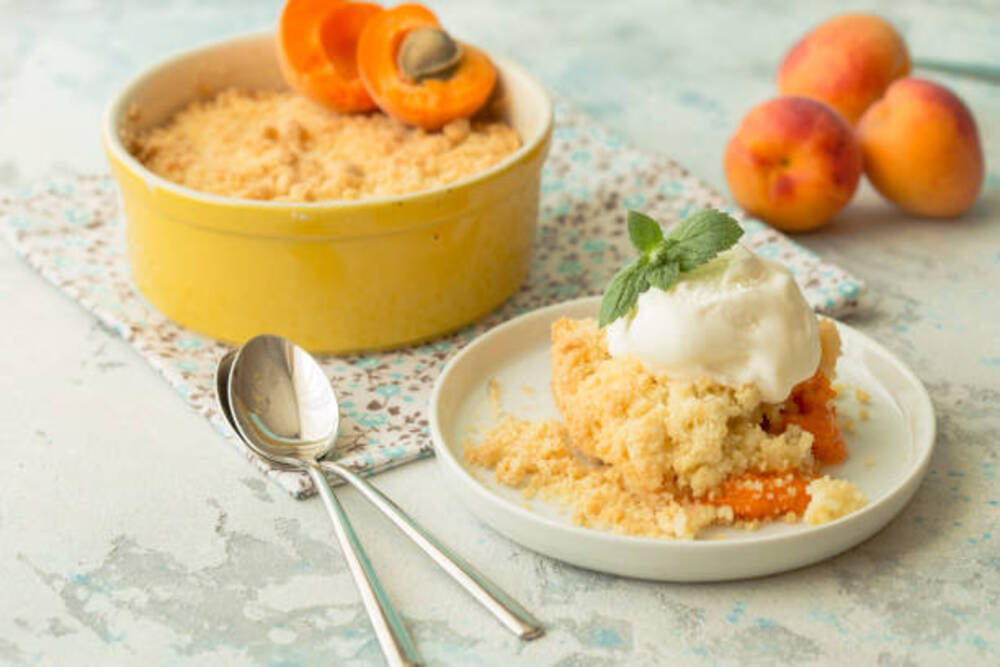
- Once baked, remove the cobbler from the oven and place it on a wire rack to cool for about 5 minutes before serving. This dish is best served warm, accompanied by a scoop of vanilla ice cream or a dollop of whipped cream.
- Store any leftovers in the refrigerator, covered, for up to 5 days. Enjoy your delicious creation repeatedly!
Notes
Freezing Instructions: It's best not to prepare the entire cobbler in advance as the biscuit topping may not rise properly if not baked immediately. However, you can freeze the peach filling alone for up to three months. To use, thaw in the refrigerator, stir in 1 teaspoon of cornstarch to thicken the juicy mixture, and then bake as directed in step 2 of the recipe. The fully baked cobbler can also be frozen for up to three months. Thaw it overnight in the refrigerator and reheat in the oven before serving.
Recommended Tools (affiliate links): Vegetable/Fruit Peeler, 9×13-inch Pan, Glass Mixing Bowl, Whisk, Pastry Cutter, Pastry Brush, Cooling Rack.
Using Frozen or Canned Peaches: Fresh peaches yield the best results, but unsweetened frozen peaches are a suitable alternative. If using frozen, ensure they are thawed, chopped, and patted dry before use. While many have enjoyed using thawed frozen peaches, canned peaches are less ideal due to their overly soft, mushy texture.
Buttermilk Substitute: If you don't have buttermilk on hand, you can easily make it. Add 1 teaspoon of white vinegar or lemon juice to a measuring cup and fill with cold whole milk until it measures 1/2 cup. You can use lower fat or nondairy milk in a pinch, though the result may not be as moist or rich. Let the mixture sit for about 5 minutes until it slightly curdles and then it's ready to use.
Egg Wash Alternative: An egg wash gives the dessert a golden-brown, crisp finish. If preferred, you can omit the egg and brush the topping with buttermilk instead for a similar effect.
Variations with Other Fruits: Many have inquired about incorporating other fruits like blueberries, cherries, plums, pluots, or nectarines. Feel free to substitute or mix different fruits as long as the total amount is about 10 cups (1.5kg). A mix of blueberries and peaches comes highly recommended, as does trying a mixed berry cobbler.
Individual Cobblers: For a more personalized serving, consider making individual cobblers using oven-safe ramekins. Divide the layers among the ramekins and bake on a large baking sheet until the filling bubbles and the biscuit topping turns golden brown. While individual servings are charming, baking a single large cobbler and then serving in ramekins or parfait glasses can be simpler.