Ingredients
Method
Day 1
- In the bowl of your stand mixer fitted with a dough hook, combine bread flour, sugar, yeast, salt, eggs, and the initial amount of milk. Start with the lesser amount of milk and add more as needed to achieve a soft dough consistency. Mix on low speed until the dough starts to pull away from the sides of the bowl, approximately 10-15 minutes.
- Gradually incorporate the softened butter, adding a few cubes at a time, and continue kneading on medium speed. The dough should be kneaded for another 10-15 minutes until it passes the window-pane test, indicating it’s properly kneaded.
- Shape the dough into a smooth ball and place it in a lightly oiled bowl. Cover the bowl with plastic wrap or a clean kitchen towel.
- Place the bowl in the refrigerator and allow the dough to chill for 10-18 hours, or overnight.
Day 2
- After the dough has chilled, remove it from the refrigerator and turn it out onto a lightly floured surface. Divide the dough into portions, either 12 pieces of 60 grams each or 9 pieces of 80 grams each, using a kitchen scale for accuracy.
- Shape each piece into a smooth, seamless ball. Arrange the dough balls in a greased or parchment-lined 9x9 inch baking pan. Cover the pan and let the dough rise in a warm area (around 78°F/26°C) for approximately two hours, or until the rolls have doubled in size and appear puffy.
- Preheat your oven to 355°F (180°C). Once the rolls have risen, bake them in the preheated oven for 15-20 minutes, or until the tops are golden brown.
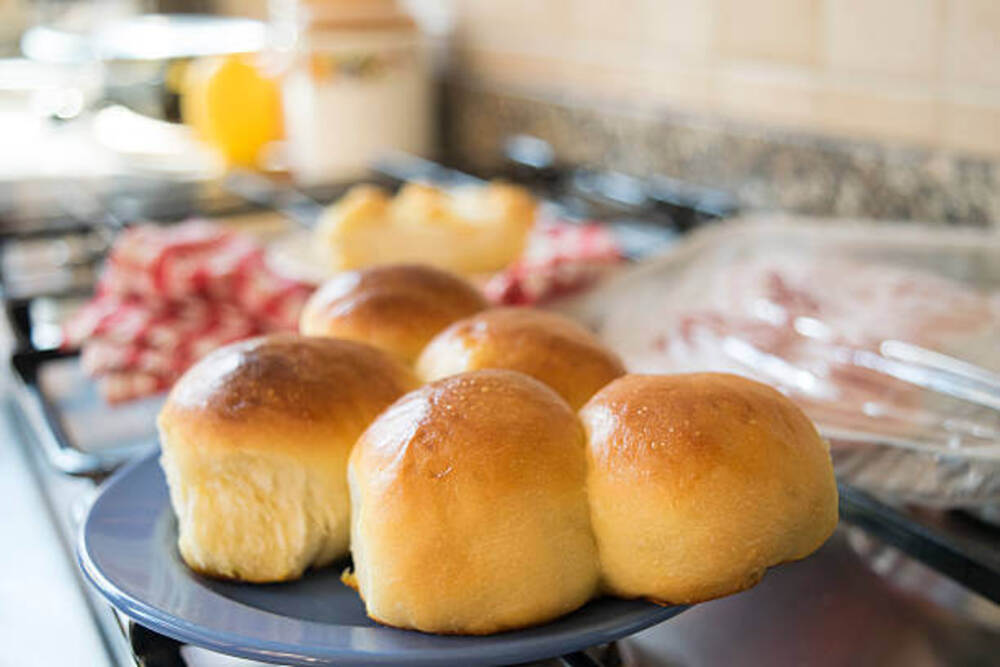
- As soon as the rolls come out of the oven, brush them with melted butter and sprinkle with flaky salt. Serve the rolls warm for the best experience.